Hammond keyboard foam removal
In mid-1960’s Hammond “improved” the original design, replacing felt inside the manuals with foam. Now, after 40 years, this foam returns to it’s original material, oil. This “goo” can damage the resistance wires inside the manuals. More info about this foam-problem is available at Hamtech FAQ and archives.
Procedure (with pictures):
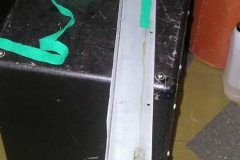
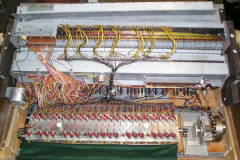
- Remove manuals from case (unsolder the wiring from generator to do this). An alternative (as shown in pictures here) is possible if the case top is removed. This is not recommended.
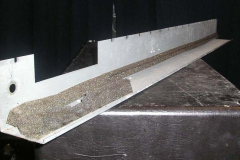
- Open the manual shields from underside. Carefully pull the shields out. There are 2 strips of foam, one is under the preset keys, the other behind actual playing keys. Remove the foam completeley. Clean metal surfaces with proper solvent.
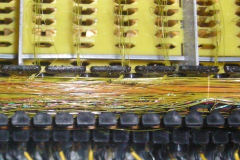
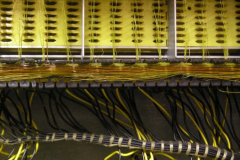
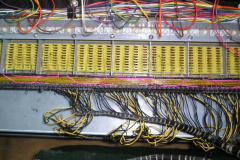
- Clean the comb holding the resistance wires, do NOT use any solvents on plastic parts or wires. Check all wires for corrosion (dark spots).
- Using cotton thread, bind the resistance wires into the combs. This prevents wires from breaking when the organ is moved.
- Attach felt strips to the bottom of the shield, near the lower screw holes to prevent dust entering the key contact area.
- Attach a thick felt to the bottom of the keyboard, under preset keys, next to the brass stand-offs.
- Assemble in reverse order.
Leave a Reply
You must be logged in to post a comment.